

-
Step 1 – Surface Preparation: Ensure the surface is flat, clean, and dry.
-
Step 2 – Applying Tile Adhesive: Apply the adhesive evenly using a notched trowel.
-
Step 3 – Laying the Tiles: Place the first tile and press it firmly into position.
-
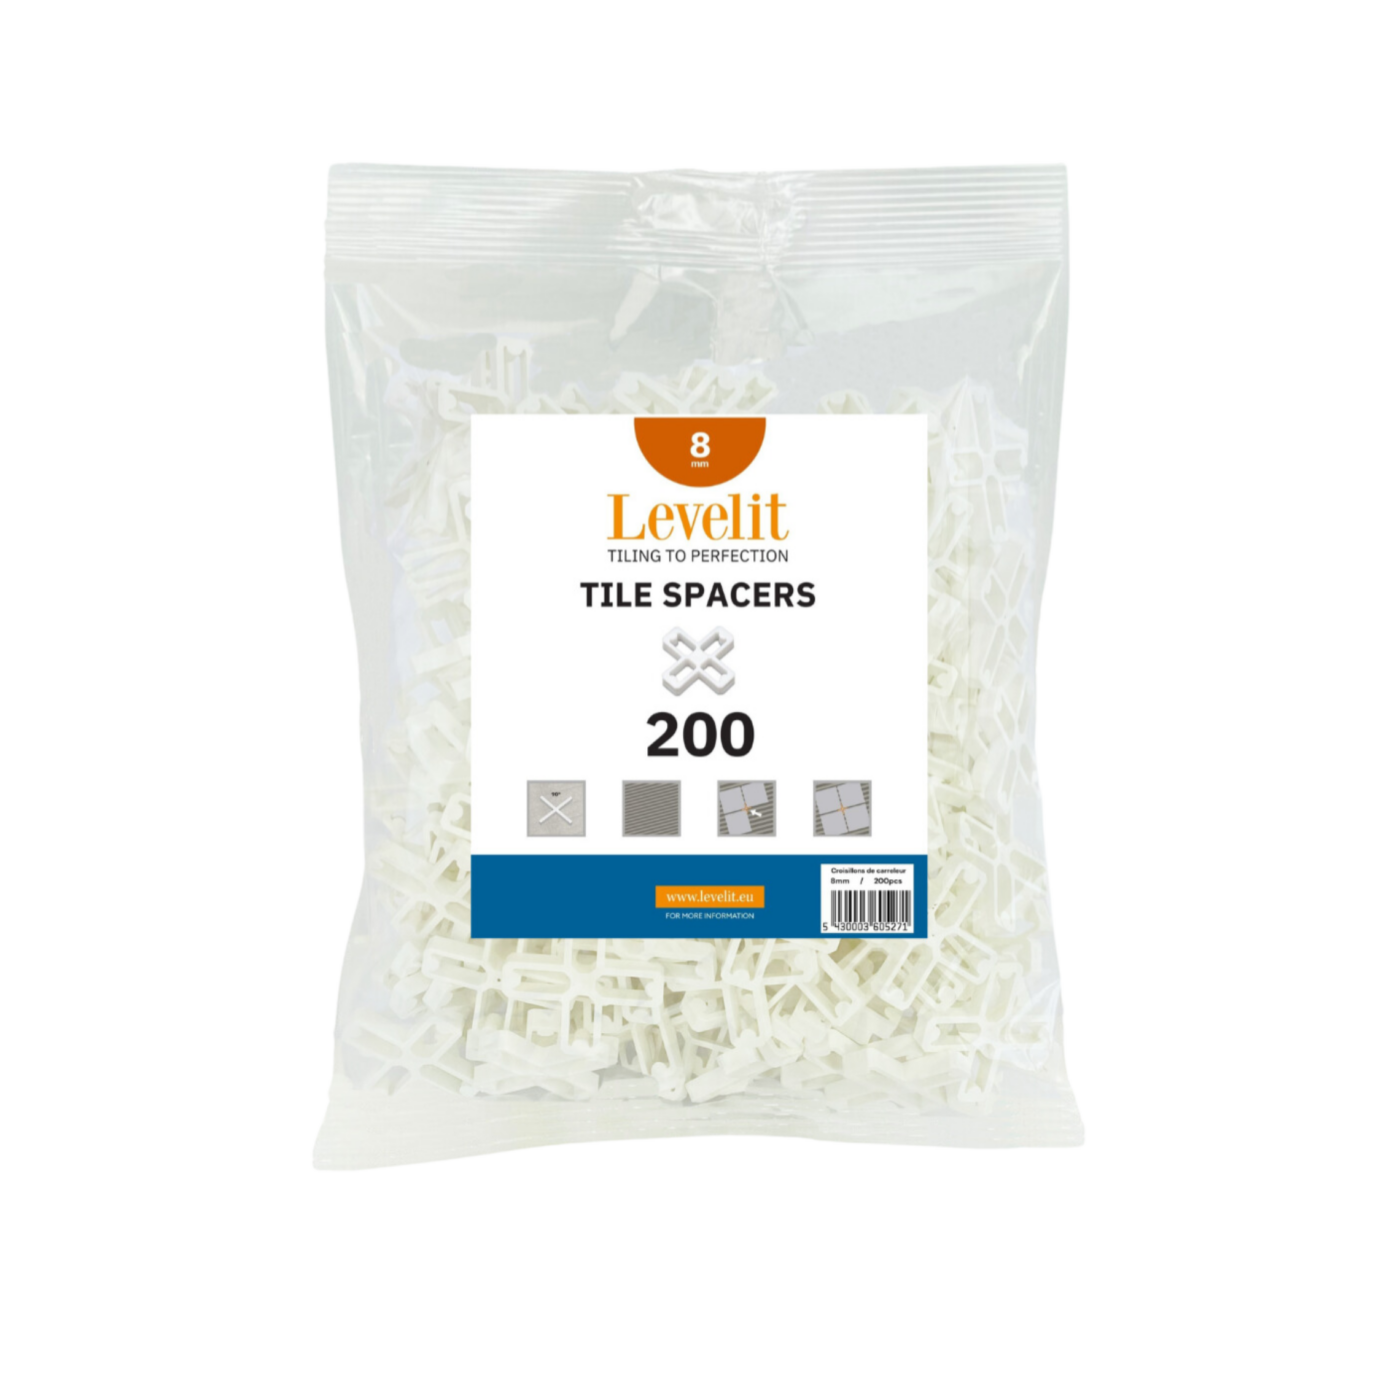
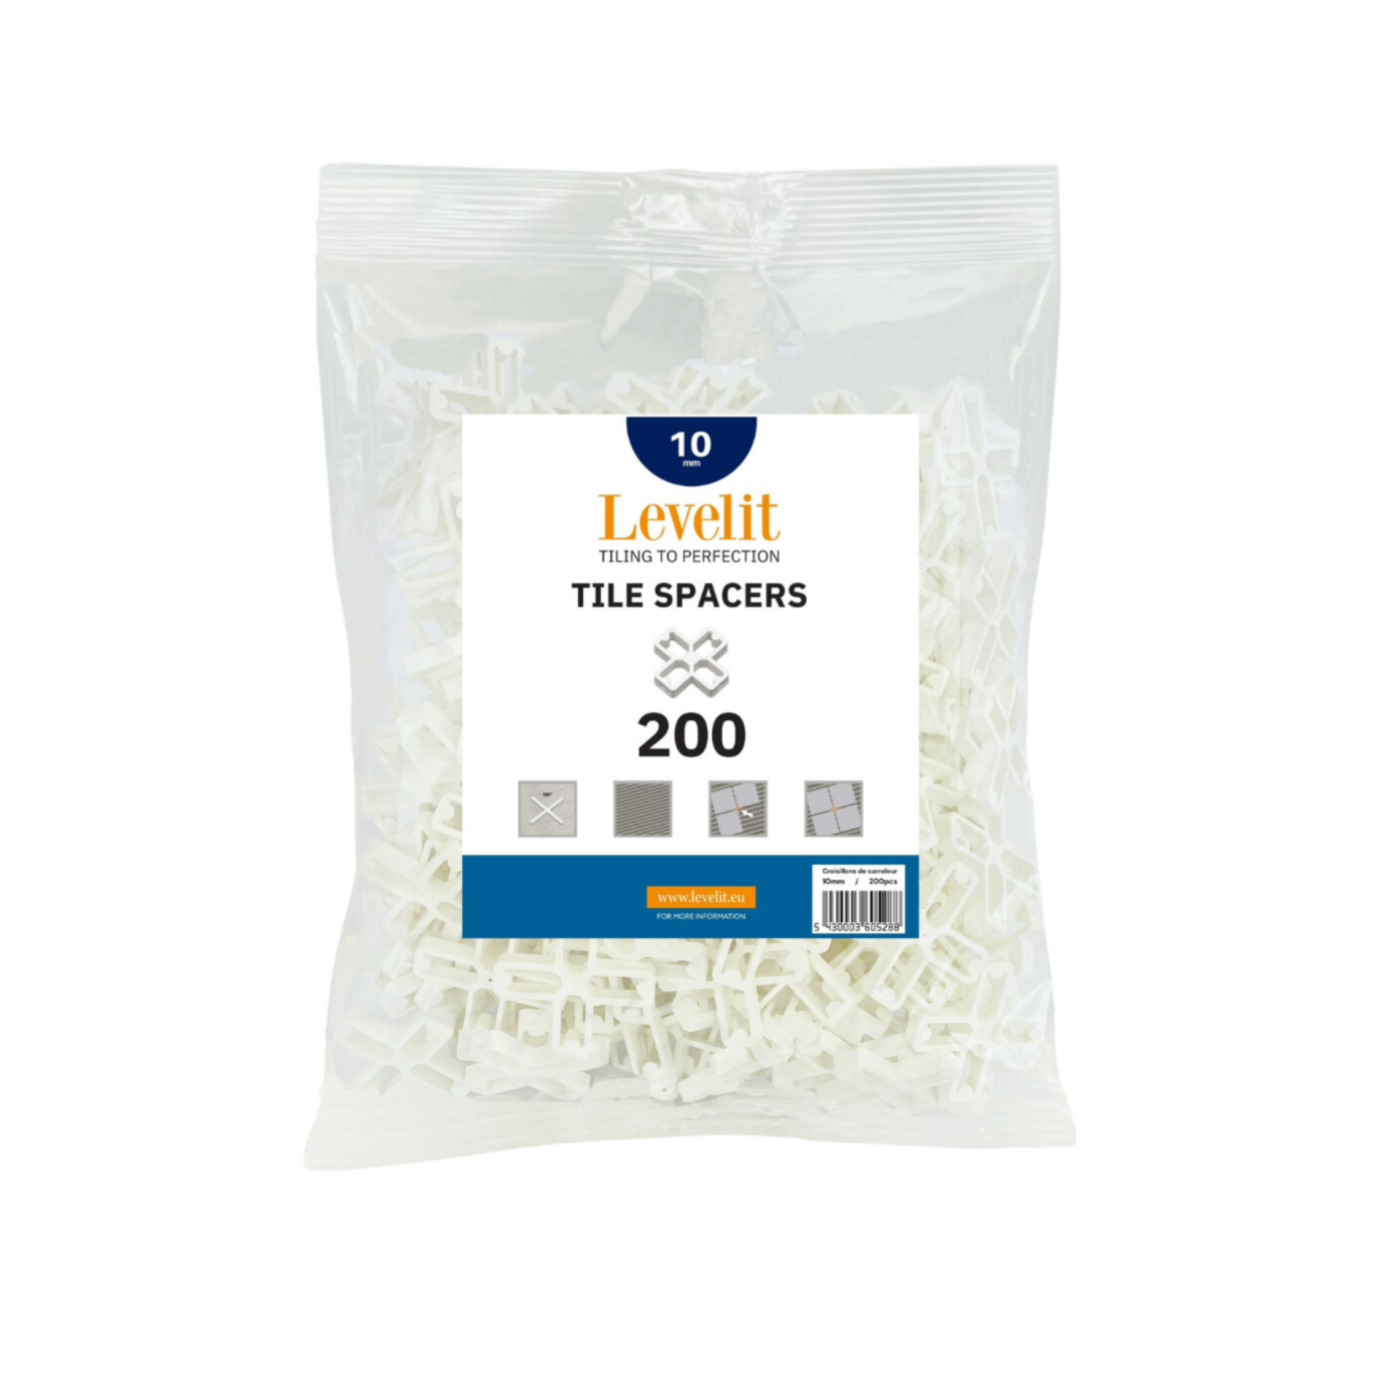
Step 4 – Using Tile Spacers: Insert tile spacers between the tiles to ensure uniform grout lines and a level result.
-
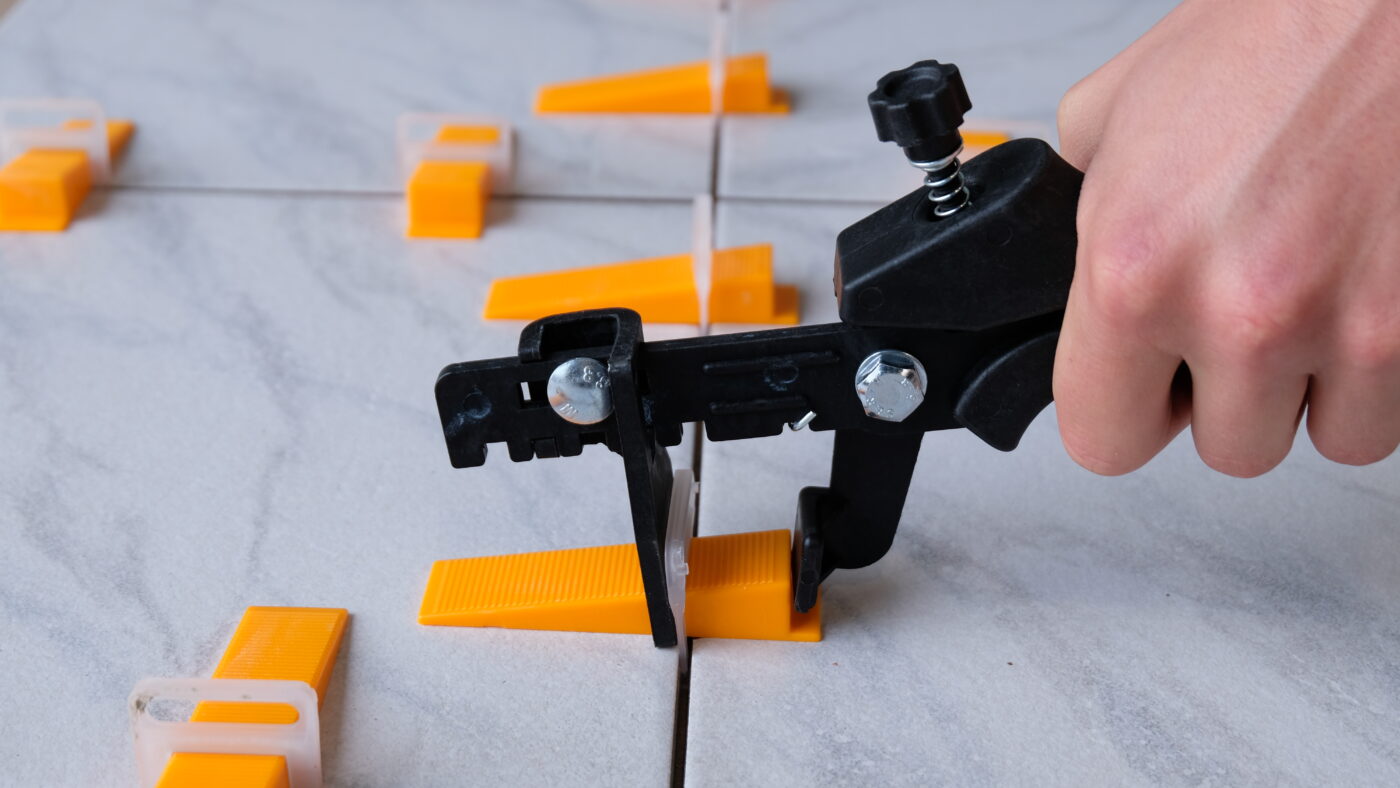
Step 5 – Applying a Leveling System (if needed): If using clips and wedges, place the clips underneath the tiles and secure the wedges using tile leveling pliers.
-
Step 6 – Grouting: Allow the adhesive to dry, remove the tile spacers, and fill the joints with grout.
-
Step 7 – Cleaning: Wipe away any excess grout using a damp sponge.