

Levelit
be-en

Choose your region and language

Apply
English - Belgium

Classic tile spacers (200 p)

Levelit’s classic tile spacers are the ultimate solution for achieving clean, uniform grout lines.
They are specially designed for laying tiles in the traditional + (cross) configuration. Featuring a leg length of 28 mm in both length and width, and made of durable plastic, these spacers offer optimal stability and precision during the tiling process.

Technical Specifications

  • Spacer size: L 28 mm x W 28 mm
  • Layout type: Straight/grid tile pattern
Find a dealer
  • Description
  • Specifications
  • User Guide

Levelit’s tile spacers offer a simple and effective solution for achieving clean, uniform grout lines between tiles. These spacers are designed for a traditional + (cross) configuration, making them ideal for standard tile patterns and straight layouts. Featuring a leg length of 28 mm in both length and width, they ensure excellent stability and precision during the tiling process.

What makes these tile spacers extra versatile is that they are available in five different joint widths. This allows you to always choose the right joint width depending on the type of tiles you are using, ensuring flexibility and a perfect finish. Furthermore, the sturdy plastic construction makes these spacers suitable for reuse, offering a durable solution for both professionals and DIY enthusiasts.

Joint widths
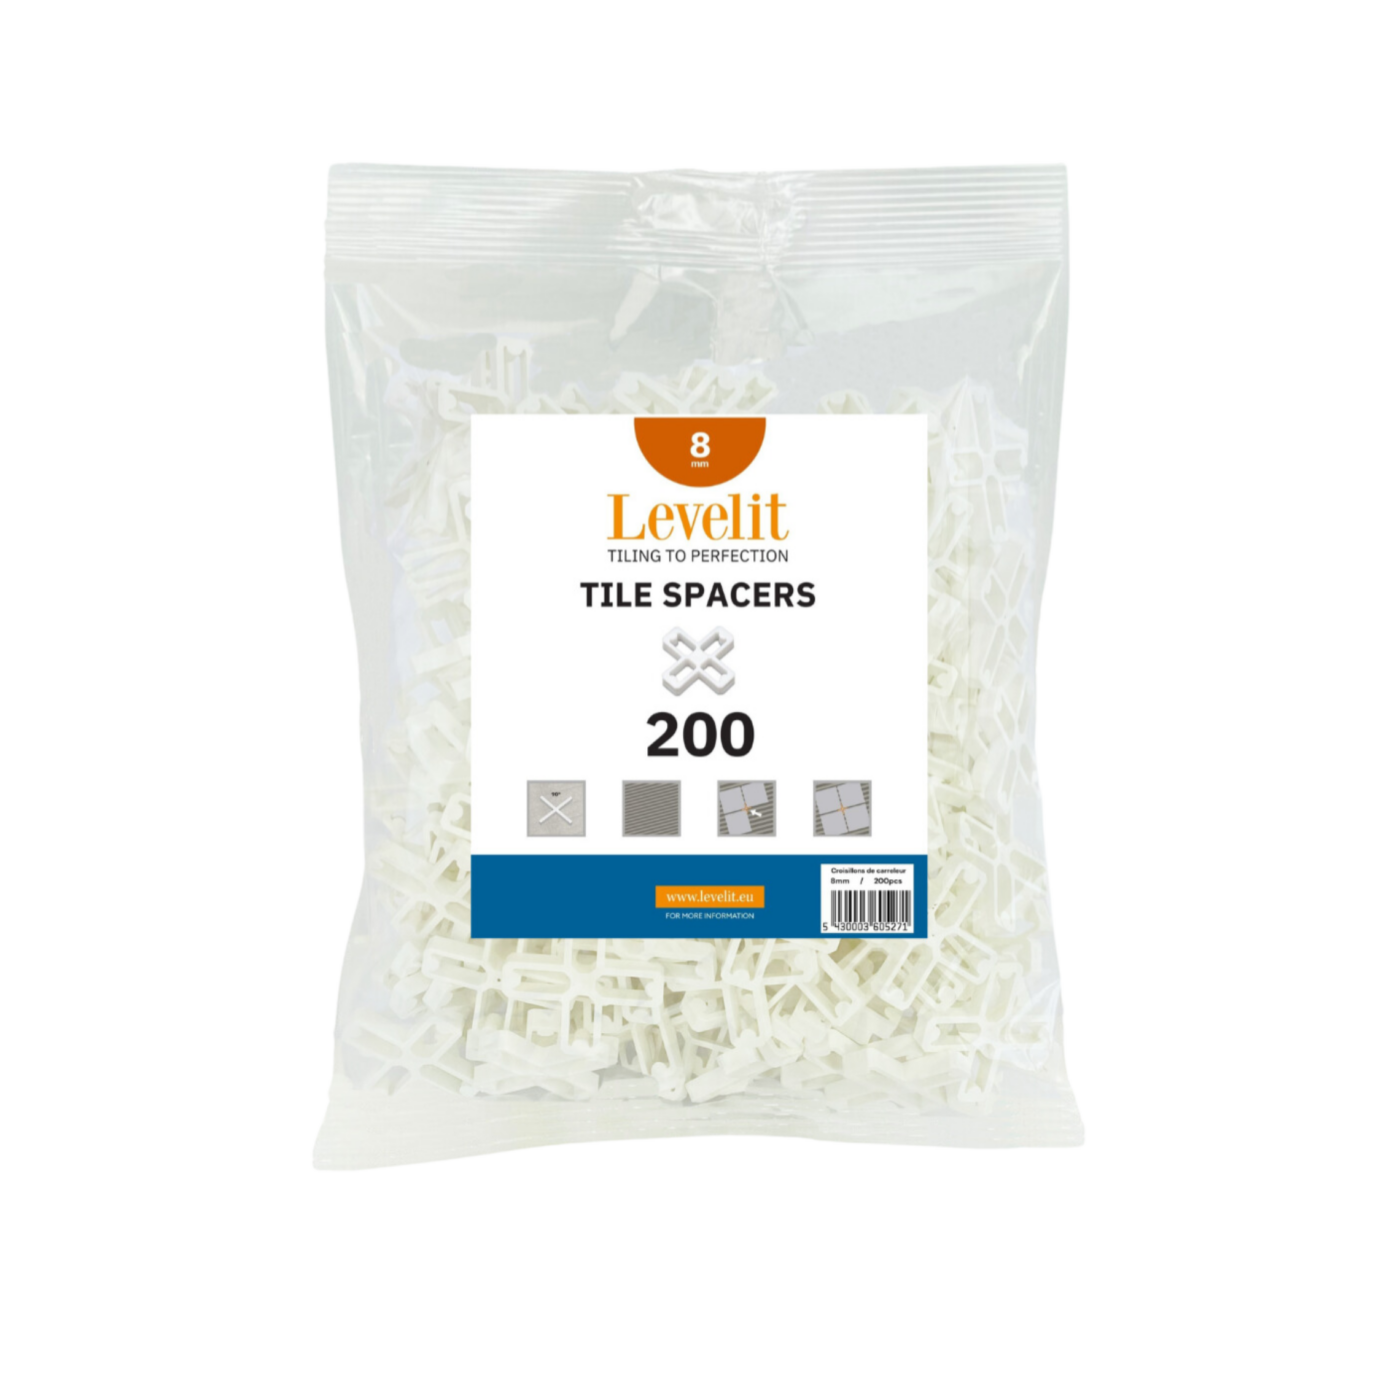
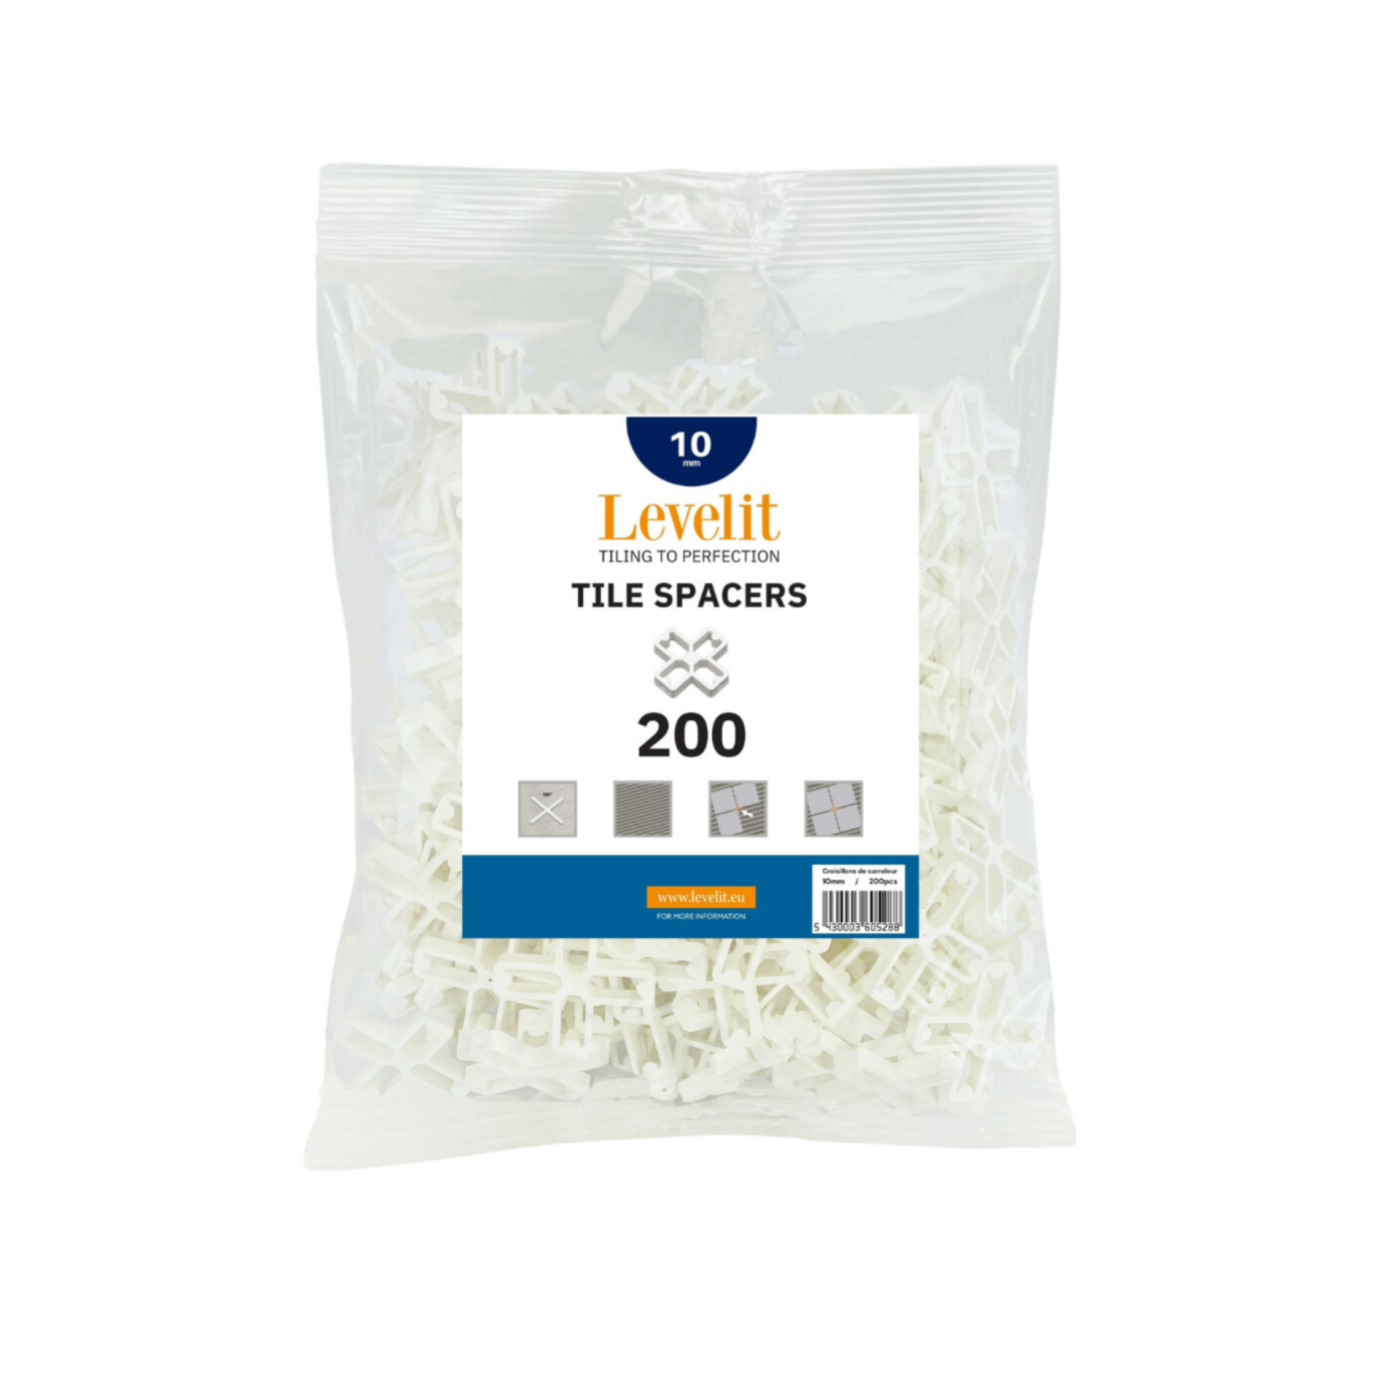
5 mm 6 mm 7 mm 8 mm 10 mm
Packaging
Bag of 200 pcs
Suitable tiles
Suitable for all types of tiles

Step-by-Step Tile Installation with Tile Spacers


  • Step 1 – Surface Preparation: Ensure the surface is flat, clean, and dry.

  • Step 2 – Applying Tile Adhesive: Apply the adhesive evenly using a notched trowel.

  • Step 3 – Laying the Tiles: Place the first tile and press it firmly into position.

  • Step 4 – Using Tile Spacers: Insert tile spacers between the tiles to ensure uniform grout lines and a level result.

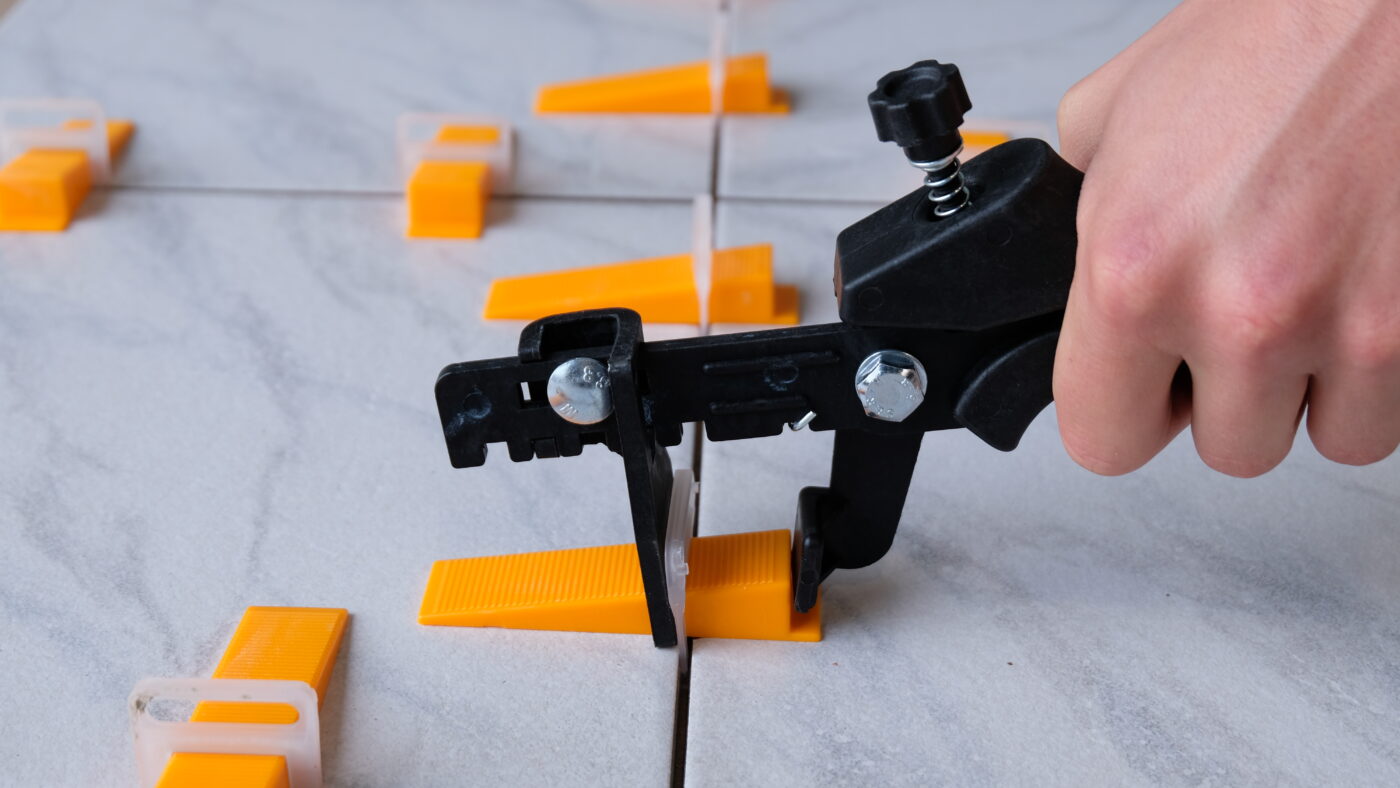
  • Step 5 – Applying a Leveling System (if needed): If using clips and wedges, place the clips underneath the tiles and secure the wedges using tile leveling pliers.

  • Step 6 – Grouting: Allow the adhesive to dry, remove the tile spacers, and fill the joints with grout.

  • Step 7 – Cleaning: Wipe away any excess grout using a damp sponge.

Description

Levelit’s tile spacers offer a simple and effective solution for achieving clean, uniform grout lines between tiles. These spacers are designed for a traditional + (cross) configuration, making them ideal for standard tile patterns and straight layouts. Featuring a leg length of 28 mm in both length and width, they ensure excellent stability and precision during the tiling process.

What makes these tile spacers extra versatile is that they are available in five different joint widths. This allows you to always choose the right joint width depending on the type of tiles you are using, ensuring flexibility and a perfect finish. Furthermore, the sturdy plastic construction makes these spacers suitable for reuse, offering a durable solution for both professionals and DIY enthusiasts.

Specifications
Joint widths
5 mm 6 mm 7 mm 8 mm 10 mm
Packaging
Bag of 200 pcs
Suitable tiles
Suitable for all types of tiles
User Guide

Step-by-Step Tile Installation with Tile Spacers


  • Step 1 – Surface Preparation: Ensure the surface is flat, clean, and dry.

  • Step 2 – Applying Tile Adhesive: Apply the adhesive evenly using a notched trowel.

  • Step 3 – Laying the Tiles: Place the first tile and press it firmly into position.

  • Step 4 – Using Tile Spacers: Insert tile spacers between the tiles to ensure uniform grout lines and a level result.

  • Step 5 – Applying a Leveling System (if needed): If using clips and wedges, place the clips underneath the tiles and secure the wedges using tile leveling pliers.

  • Step 6 – Grouting: Allow the adhesive to dry, remove the tile spacers, and fill the joints with grout.

  • Step 7 – Cleaning: Wipe away any excess grout using a damp sponge.

This site is registered on wpml.org as a development site. Switch to a production site key to remove this banner.