Levelit
be-en

Choose your region and language

Apply
English - Belgium

Classic T-tile spacers (250 pcs)

The classic T-tile spacers from Levelit are the ideal solution for achieving clean and even grout lines.
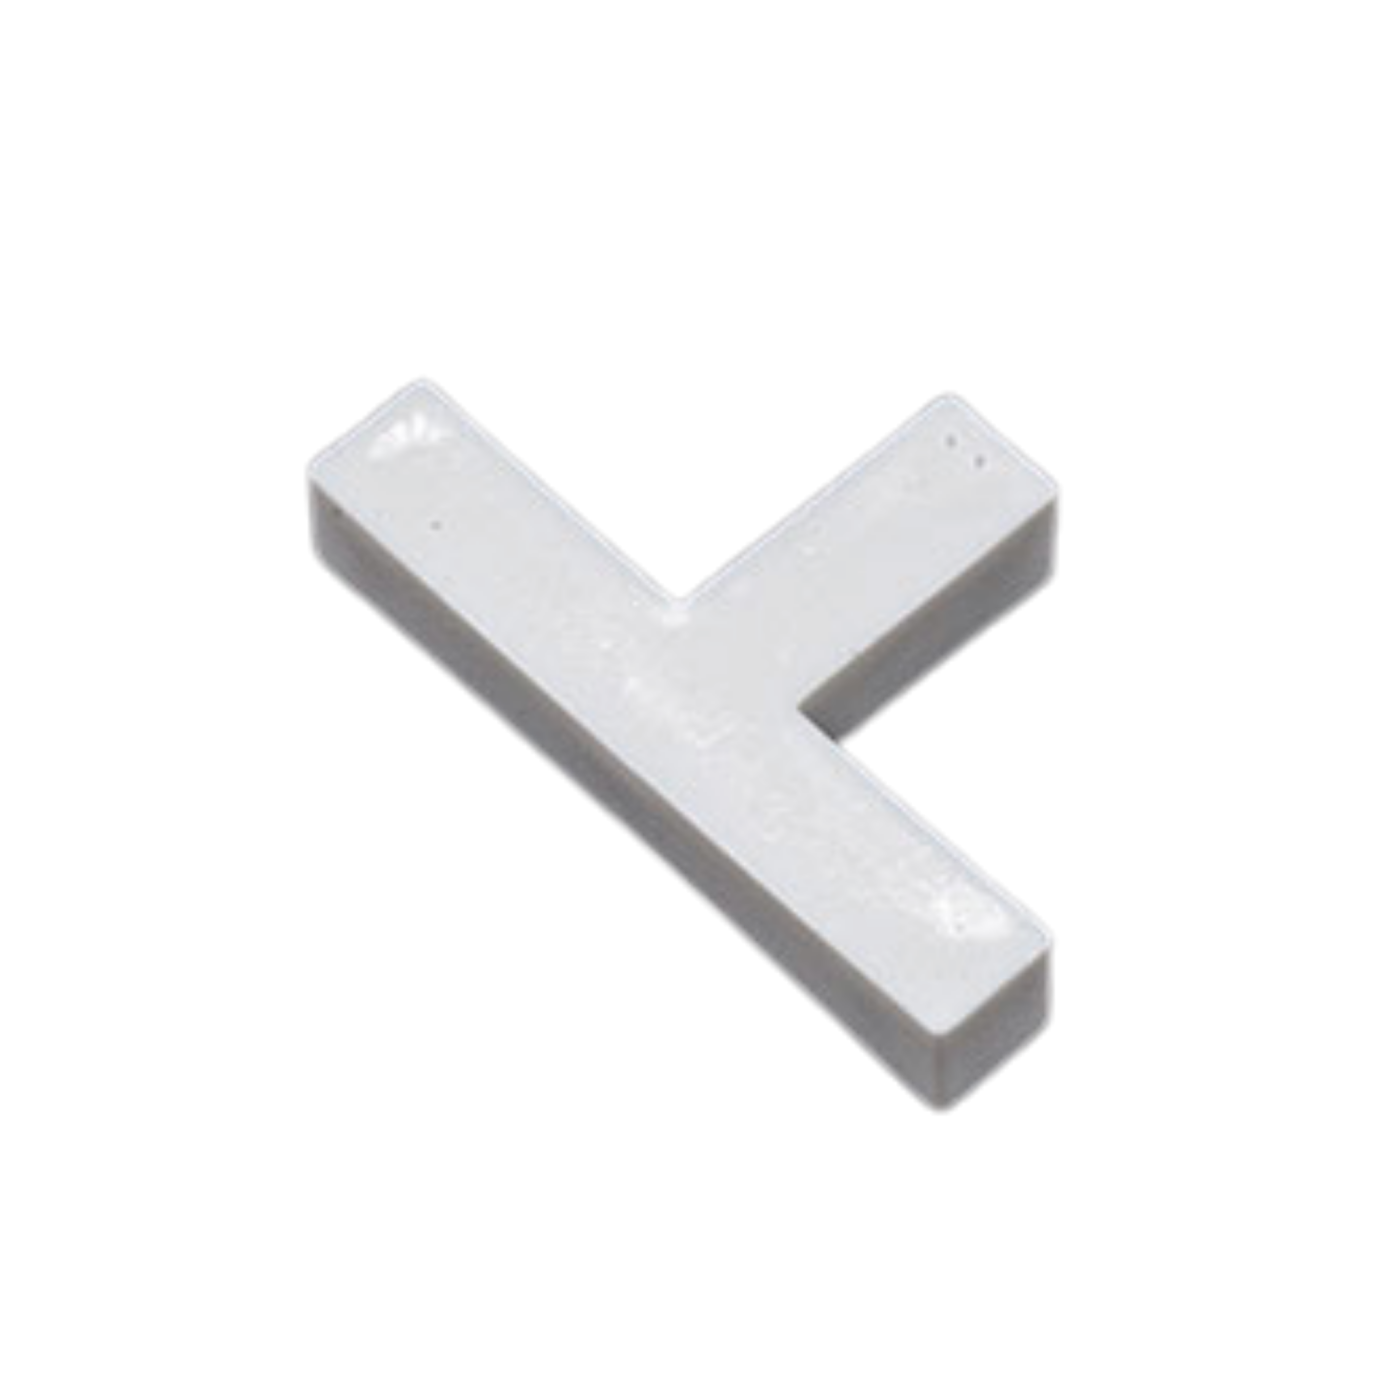
They are specially designed for laying tiles in a T-configuration.
With a leg length of 28 mm in both directions and made from solid plastic, these spacers provide optimal stability and precision during tile installation.

Technical specifications

  • Spacer size: L 28 mm × W 16 mm
  • Installation type: T-placement
Find a dealer
  • Description
  • Specifications
  • Step-by-step guide

The classic T-tile spacers from Levelit are the ideal solution for achieving clean and even grout lines.
They are specially designed for laying tiles in a T-configuration.
With a leg length of 28 mm in both directions and made from solid plastic, these spacers provide optimal stability and precision during tile installation.

Technical specifications

  • Spacer size: L 28 mm × W 16 mm
  • Installation type: T-placement
Joint widths
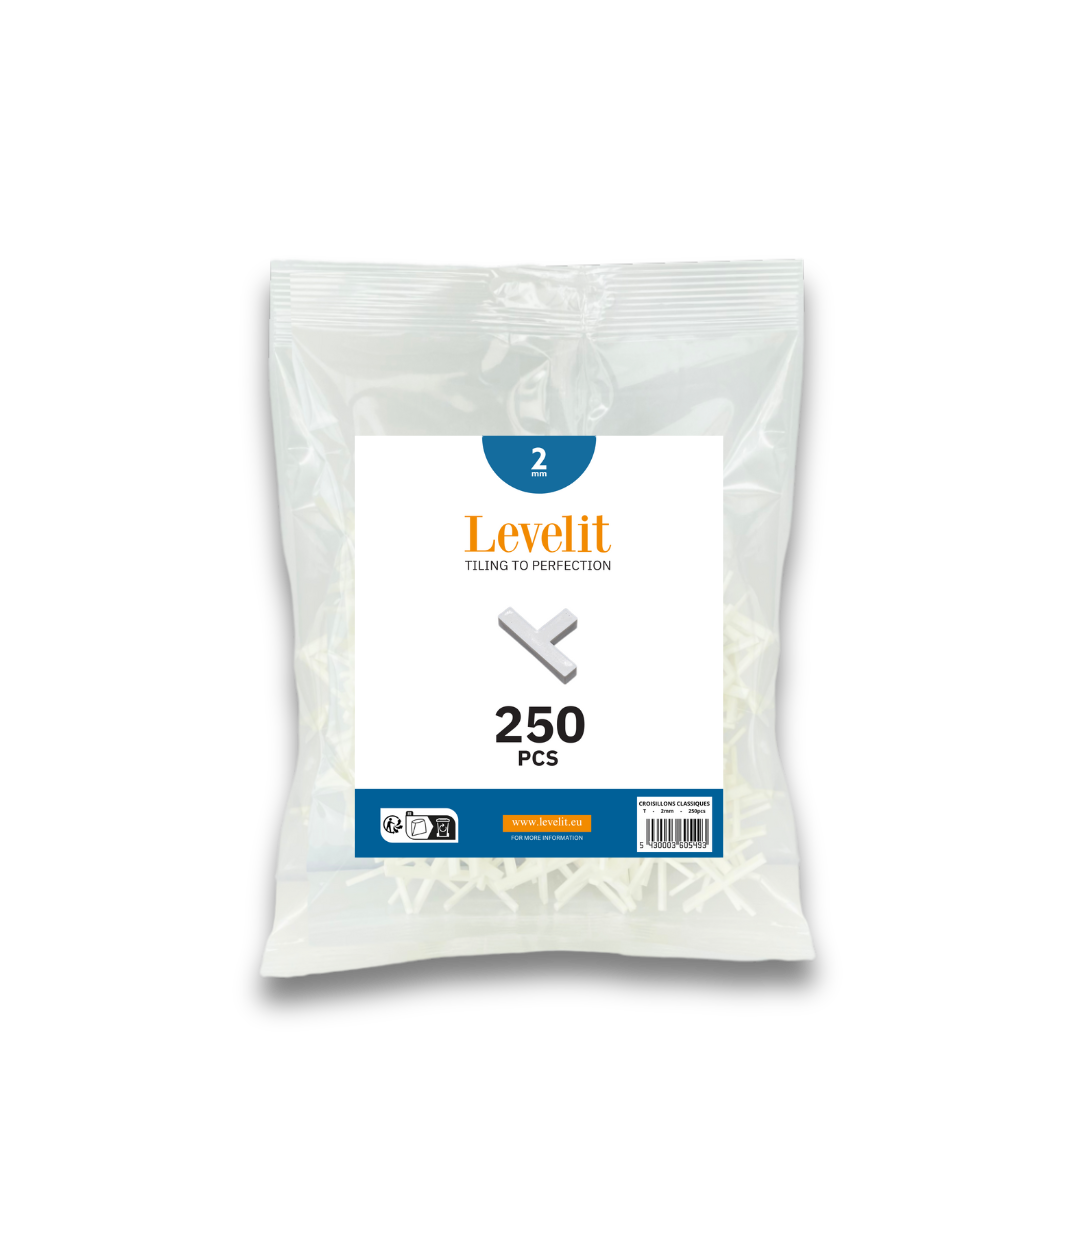
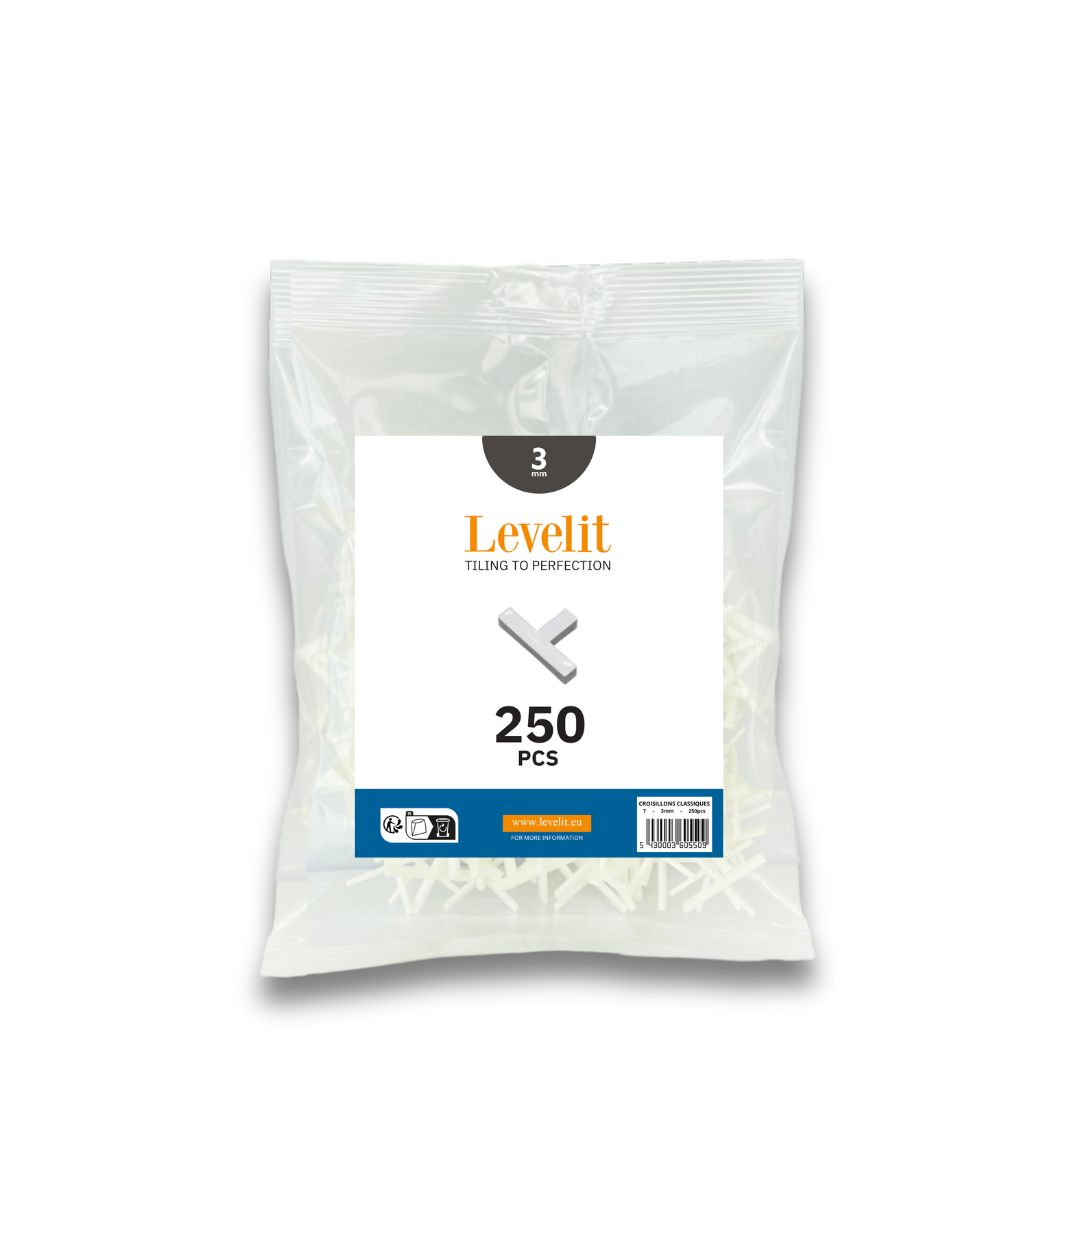
2 mm 3 mm
Packaging
Bag of 250 pieces
Suitable tiles
Suitable for all types of tiles.

Technical specifications

  • Spacer size: L 28 mm × W 16 mm
  • Installation type: T-placement


Step-by-step tile installation using tile spacers


  • Step 1 – Prepare the surface: Ensure the surface is flat, clean, and dry.
  • Step 2 – Apply tile adhesive: Spread the adhesive evenly using a notched trowel.
  • Step 3 – Lay the tiles: Place the first tile and press it firmly into position.
  • Step 4 – Use tile spacers: Insert tile spacers between the tiles to ensure even grout lines and a level finish.
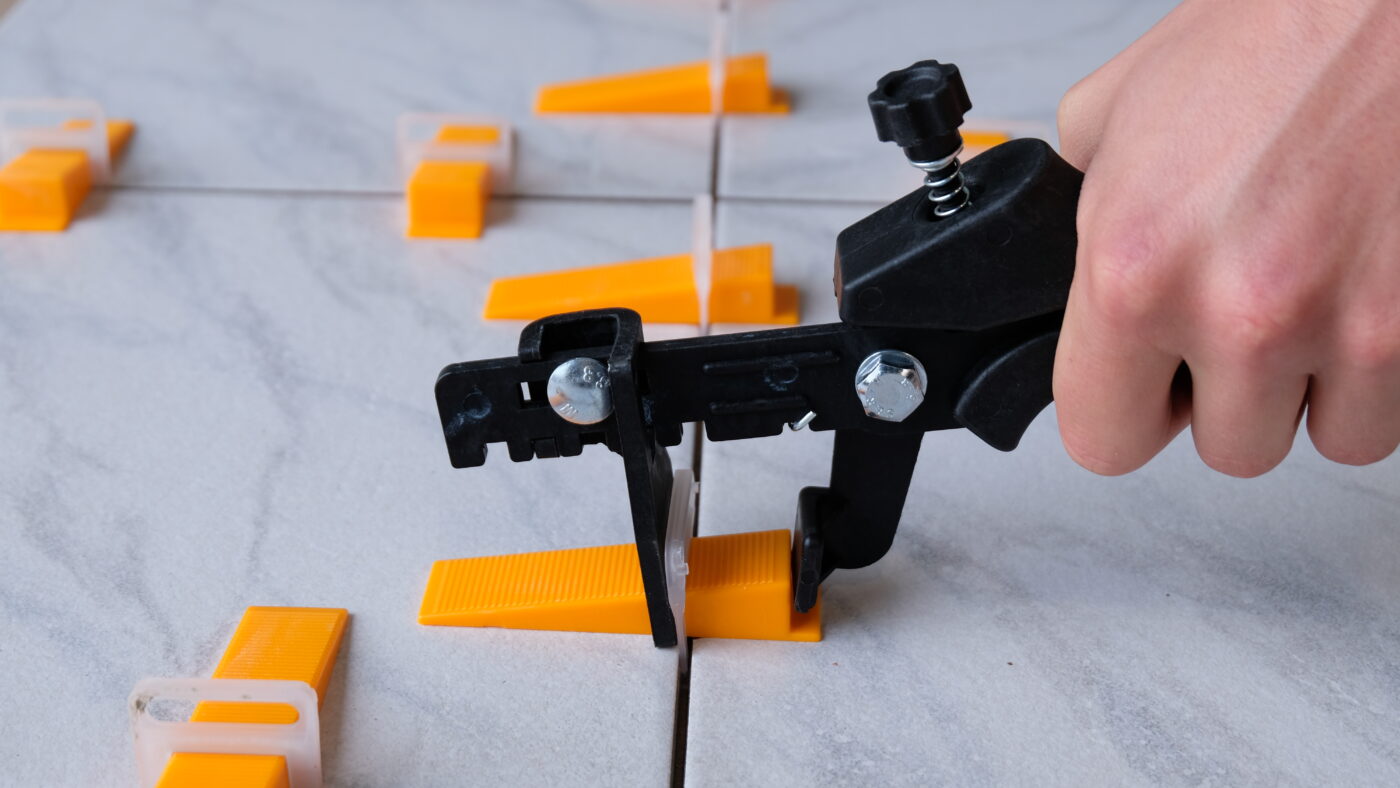
  • Step 5 – Apply leveling system (if needed): When using clips and wedges, place the clips under the tiles and tighten the wedges with an applicator tool.
  • Step 6 – Grouting: Allow the adhesive to dry, remove the tile spacers, and fill the joints with grout.
  • Step 7 – Cleaning: Wipe off excess grout with a damp sponge.
Description

The classic T-tile spacers from Levelit are the ideal solution for achieving clean and even grout lines.
They are specially designed for laying tiles in a T-configuration.
With a leg length of 28 mm in both directions and made from solid plastic, these spacers provide optimal stability and precision during tile installation.

Technical specifications

  • Spacer size: L 28 mm × W 16 mm
  • Installation type: T-placement
Specifications
Joint widths
2 mm 3 mm
Packaging
Bag of 250 pieces
Suitable tiles
Suitable for all types of tiles.

Technical specifications

  • Spacer size: L 28 mm × W 16 mm
  • Installation type: T-placement


Step-by-step guide

Step-by-step tile installation using tile spacers


  • Step 1 – Prepare the surface: Ensure the surface is flat, clean, and dry.
  • Step 2 – Apply tile adhesive: Spread the adhesive evenly using a notched trowel.
  • Step 3 – Lay the tiles: Place the first tile and press it firmly into position.
  • Step 4 – Use tile spacers: Insert tile spacers between the tiles to ensure even grout lines and a level finish.
  • Step 5 – Apply leveling system (if needed): When using clips and wedges, place the clips under the tiles and tighten the wedges with an applicator tool.
  • Step 6 – Grouting: Allow the adhesive to dry, remove the tile spacers, and fill the joints with grout.
  • Step 7 – Cleaning: Wipe off excess grout with a damp sponge.
This site is registered on wpml.org as a development site. Switch to a production site key to remove this banner.